How To Install Ionic CLI And Create First Application.
Getting started with ionic is pretty stright forward. Node.js and npm is the only requirement to kick start.
Install Node.js
From Node official website, install the Long Term Support (LTS)
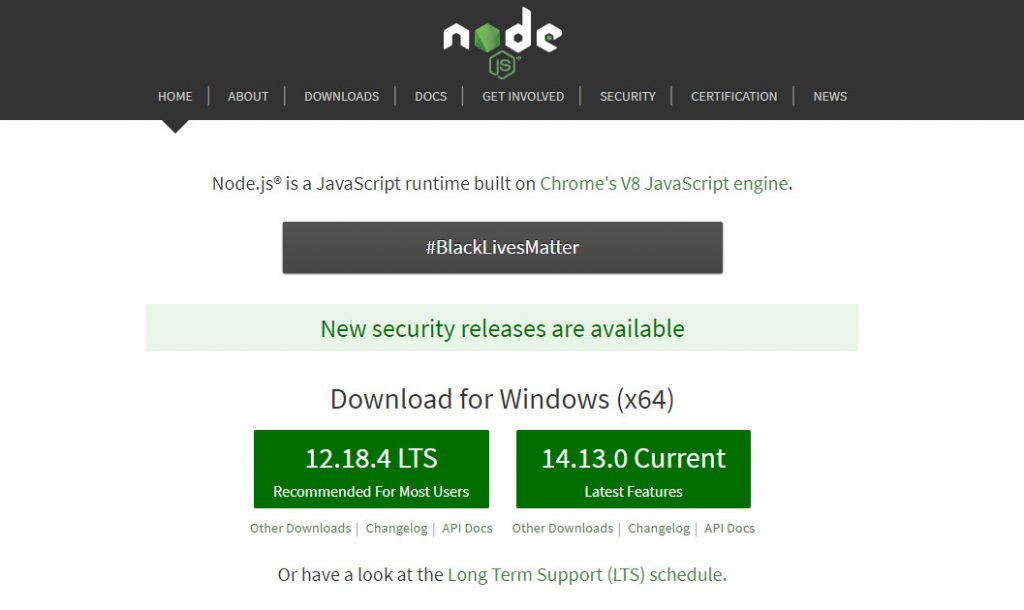
Installing Node.js automatically add npm. Follow the default prompts during the installation process. Verify if all went successfully by running:
node --version

npm --version
Now that you have Node.js and npm, go ahead and install the ionic CLI. The CLI is the primary tool when developing ionic apps.
To install it, bring up the terminal or command prompt and execute:
npm install -g @ionic/cli-g stand for global. This helps in creating ionic projects anywhere within the local manchine. You can opt and install on a particular folder or directory by navigating into such folder or directory and running same command on the terminal exclusively of ‘-g’.
Almost don with setting up the environment. Download and install any code editor of your choice. Visual studio code for now is the most dominant I think.
Creating First Project
Time to create first app. Create an empty folder name ‘ionicProjects’ on desktop. Launch terminal and navigate into the newly created folder and run ‘ionic start firstApp –type=angular’.
Note: Putting project folder on desktop is a personal preference. The choice is yours.
C:\Users\HP>cd desktop

C:\Users\HP\Desktop>cd ionicProjects

C:\Users\HP\Desktop\ionicProjects>ionic start firstApp blank --type=angular
‘cd’ means change directory
‘ionic start‘ instruct the ionic-cli to start a new application
‘firstApp‘ is the name of the app.
‘blank’ is one of the ionic-cli commands that create new application without any tabs navigation added.
Replacing ‘blank’ with ‘tabs’ create the application with navigation tabs. As a beginner, I strongly advice to go with ‘blank’ in order to know how things work under the hood.
Navigation tabs will be added later through same cli.
‘–type=angular’ ionic is a framework build to use exisiting web technologies like angular, react, vue or javascript to quikly develop mobile apps and as such, when starting a new ionic application, you are required to select the framework type to work with and thus, the need for ‘–type=angular’.
Don’t worry about selecting angular here. Nothing much is needed on that for now but as a requirement of ionic, a framework needs to be specified in order to proceed.
ionic start firstApp blank --type=angularNext prompt after executing the above will be integrating capacitor. For now select N which is no by typing n and pressing enter to proceed.
The cli will take some time to create the project as this is the first time. Relax and wait patiently for it.
After that navigate inside the created app folder and run ‘ionic serve’.
‘ionic serve’ compile the project and launch it on the computer browser using local host. If it fails to launch automatically, copy the local host url that will be made available on the terminal and paste in the browser.
cd .\firstApp  // or

cd firstApp

ionic serve
App is now live on the browser.

To give it a more mobile feel, on the top right hand side of Google Chrome, tap on the 3 dots for a drop-down menu. Move down to ‘More tools’ for a second drop-down menu and finally select ‘Developer tools’.
This brings up chrome developer console and from here, on the top left hand side you can select device type for the app to render in a mobile form as shown below.

Alternatively, one can make use of ionic lab which gives a more professional outlook in adition to viewing mutiple mobile platforms whiles developing.
Simply relace ‘ionic serve’ with ‘ionic –lab’.
For the first time, @ionic/lab will need to be installed. Accept the prompt to proceed.
ionic --labAfter executing the ionic –lab command, app will be compiled and rendered as seen below.

More like a developer now.
Complete code on the terminal or command prompt.
//complete code
C:\Users\HP>cd desktop

C:\Users\HP\Desktop>cd ionicProjects

C:\Users\HP\Desktop\ionicProjects>ionic start firstApp blank --type=angular

C:\Users\HP\Desktop\ionicProjects>cd firstApp

C:\Users\HP\Desktop\ionicProjects\firstApp>ionic serve //or

C:\Users\HP\Desktop\ionicProjects\firstApp>ionic --lab
That is it. You made it!
Successfully installed ionic cli and created new application.
Pingback: Ionic Firebase Communication – Blog4Developers